skip to main |
skip to sidebar
Aren’t these chillies gorgeous?
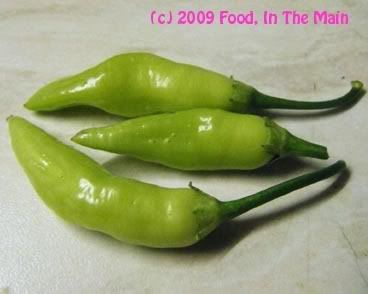
Fresh off (one of) my plants... but I only wish I knew what variety of chilli they are, the sun and rain having bleached the writing on the marker stick I’d used. I used these chillies (and added two more store-bought green chillies) to make alu matar (curried potatoes and peas) a couple of days back, but to my surprise, they didn’t seem to have any effect on the heat content at all.
I found that out only the next day, as I hadn’t bothered with tasting it after I’d made it in the evening (to use up odds and ends of tomatoes and green peas and a couple of boiled potatoes). Pete and his son Andy came back late that night after a deejaying stint at a club, and along with the lemon chicken (sauce sadly from a jar) that I’d made for them, they also demolished a good portion of my alu matar.
Which fact I discovered the next morning, to my great surprise.
Andy doesn’t shy away from chilli-hot food, but put Pete next to a green chilli and he starts sweating just from its proximity. So when he said, on being questioned, that he thought the alu matar was very tasty, I couldn’t believe my ears.
“You ate food with chillies in it?”, I asked. “YOU?”
“Yes, it tasted fantastic,” he said calmly.
“Okay..." I edged away from him warily. "Which planet are you from and when did you take over my husband’s body?”
“Look," he said, shrugging. "I stuck a finger in and tasted it, and when it didn’t burn my tongue off, I decided it was safe to eat."
"It wasn’t hot,” he added.
“It wasn’t HOT? It wasnt HOT?" I repeated, my voice rising to a squeak of outrage. "Right, bad enough that you’ve taken over my husband’s body, but to make five green chillies disappear as well... that’s too much! What have you done with my green chillies? Do you use them to fuel your space-machines?”
“It wasn’t hot,” he said again, absolutely radiating saintly patience. “Really. You try it.”
So I did.
He was right. It wasn't hot.
That was good news and bad news – good news in that apparently Pete hadn’t been possessed by chilli-neutralising aliens from outer space, but bad news (kind of) that my chillies were not hot. I was growing chillies that were *gasp* not hot? I might as well let the slugs and snails have the darned chilli plant – naaaah, just kidding! I wouldn’t let those nasty creatures have a go at my nastiest WEEDS if I could possibly help it, never mind relinquish something grown after so much difficulty, even if it was lacking in the one quality that defines a real chilli!
Anyway, my aim for next summer is to source a Bhut Jolokia chilli plant... and then we’ll see about chillies that aren’t hot. Ha.
For now, in any case, my recipe for alu matar. Yes, I know, it’s a basic recipe and one that can be found on practically everybody’s blog, and yes, I also know that I have another recipe on this very same blog for this preparation... but my point is, that’s another recipe (and those on other blogs are other recipes) - not this one.
And with that final triumphant flourish of logic, here goes...
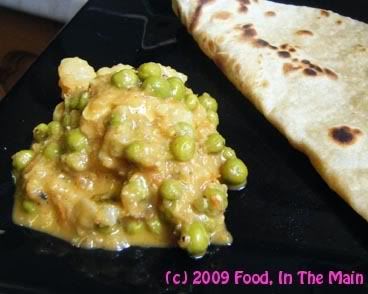
Recipe for: Alu matar (curried peas and potatoes)
Ingredients:
2 medium potatoes, boiled, peeled and cut into 1 cm cubes
2 cups ripe tomatoes chopped (I added a few baby plum tomatoes)
1-1/2 cups fresh garden peas
1 medium onion chopped
8-10 small shallots (I used sambar onions)
4-5 fresh green chillies (or to taste) halved vertically
7-8 cashew nuts
1 tsp grated ginger root
1/4 cup milk or cream
1/2 tsp coriander powder
1/2 tsp cumin seeds
1 level tsp chana masala (or garam masala)
1 cup water
3 tsp oil
Salt to taste
Chopped coriander leaves for garnish
Method:
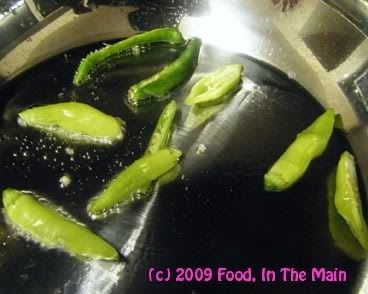
1. Heat 2 tsp oil in a pan and fry the green chillies for 30 seconds.
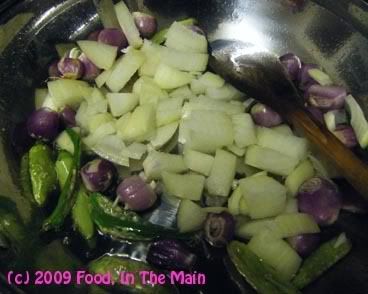
2. Add the onions and the cashew nuts now and stir fry till they begin to soften and turn translucent.
3. Now add the chopped tomatoes and grated ginger,
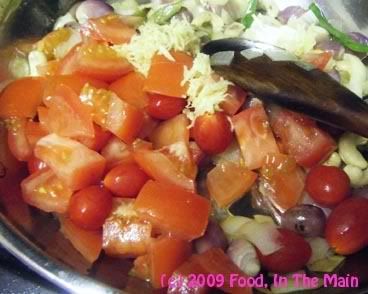
stir and let them cook on med-high heat till the tomatoes begin to soften.
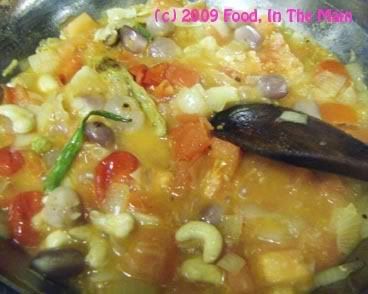
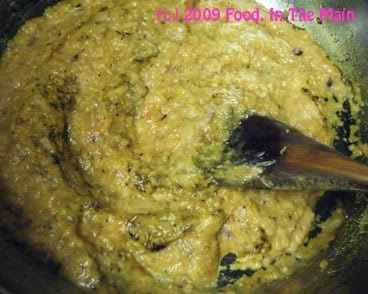
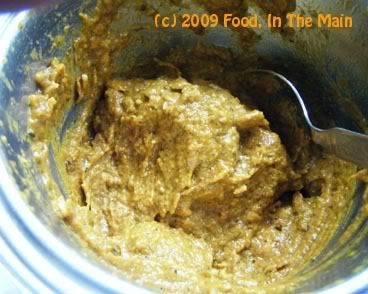
Let cool and grind to a smooth sauce.
4. Now heat the remaining 1 tsp oil and throw in the coriander powder, cumin seeds and garam masala. Stir fry for 10 seconds, then pour in the pureed sauce.
5. Add the green peas
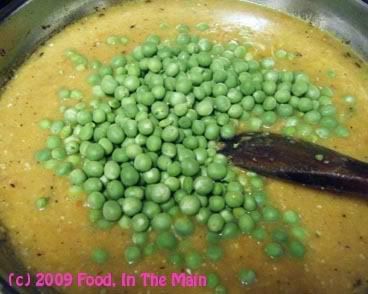
along with 1 cup water and 1/4 cup milk,
bring to a brisk boil, then allow to simmer for 10 minutes, covered, till the peas are cooked to your liking.
6. Add the boiled potatoes and salt to taste, and let the masala reduce to a consistency you like (slightly runny if serving with rice, and thicker if accompanying rotis or parathas).
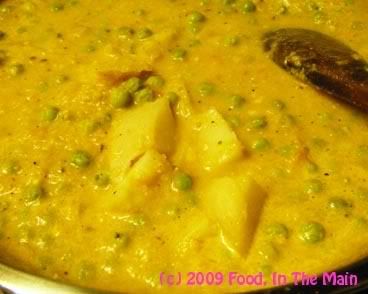
7. Sprinkle with chopped coriander and serve hot.
I have the food blog world to thank for this recipe – not any blog in particular, but quite a few of them that featured recipes for chutneys/thogayals made without coconut and yet – and this is so very important – tasting really, really good. Before these blogs, the only non-coconut chutney/thokku/thogayal recipes that I had heard of, or ever made, were onion chutney and tomato thokku.
Actually, I tell a lie. In the interests of truth, I will have to admit that I knew of a third such coconut-free thogayal, made with roasted aubergine/brinjal. This is something my mom used to make specially for my dad. I have eaten it before, years and years ago, but even then only with extreme squeamishness.
Anyway, we won’t talk about it any more because in my world, aubergines fall in the same category as slugs and snails in terms of food – in other words... yuuurrrrgh! (Regular readers will know this anyway, so I excuse my mentioning my aubergine-phobia yet again on the barely conceivable grounds that a random new reader just might chance upon this very post as their first one on my blog – and wouldn’t it be tragic if they were to go away, very likely forever, without knowing this important fact about me? See? That’s why.)
So, back to happier, tastier things... those thogayals that I would never have thought to make with vegetables that I would not have imagined using, if not for all those lovely food bloggers – vegetables like chow-chow, bell pepper, carrot (carrot!), beetroot, and so on. I cannot thank the food blog world enough for these revelations.
Now, on to the chutney that I made a couple of days back – with slow-roasted yellow bell peppers, tomatoes, garlic and onions as the vegetable base. I added sesame seeds and a couple of tablespoons of roasted peanuts to thicken the chutney and give it a bit of texture along with a gentle nutty taste. I don’t like adding peanuts with gay abandon in thogayal/chutney because then the whole thing turns into a weird sort of peanut butter, rather than a chutney. It’s just me, I guess, but somehow that doesn’t seem right.
If you don’t have an oven, don’t worry. The chutney will taste just as good with the vegetables roasted/cooked on the hob. I oven roasted mine only because I was in no hurry, and because I was slow-roasting a lot of tomatoes anyway.
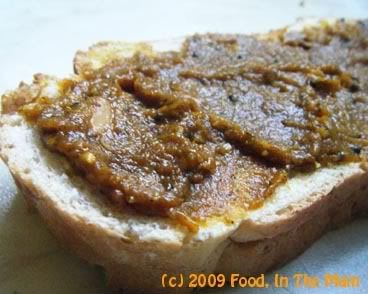
Recipe for: Roasted bell pepper, tomato and peanut chutney
Ingredients:
2 big yellow bell peppers
3 medium tomatoes
1 large onion
4 garlic cloves
10-12 dried red chillies (or to taste)
Fresh curry leaves, about 20 (optional)
1/2 tsp tamarind paste
2 tbsp roasted peanuts
1/4 tsp asafetida powder
1 tbsp black sesame seeds (can use white too)
1 tsp urad dal
1 tsp mustard seeds
Salt to taste
4 tsp oil
Method:
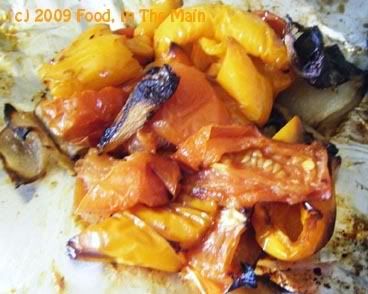
1. Deseed the bell peppers and cut into quarters. Cut the tomatoes lengthwise in half, then in half again to make four wedges. Peel and chop the onion in large pieces. Remove the skin from the garlic.
2. Toss the vegetables with 1 tsp
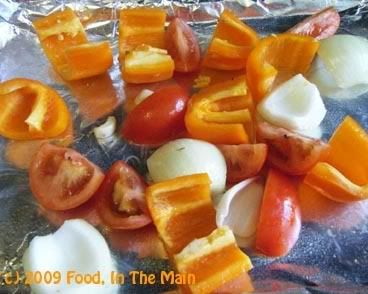
oil and roast in a 160C oven for about 1-1/2 hours (stirring the vegetables after 45 minutes and removing the garlic). (Or if cooking on the hob, heat the oil and stir-fry the vegetables on high heat till well softened and lightly charred.)
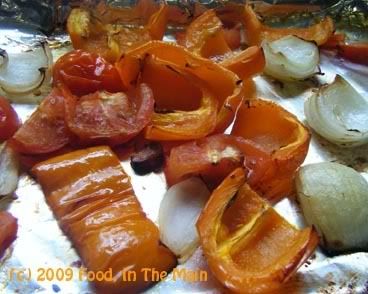
The peppers and onions should be lightly charred, the tomatoes semi-dry.
Let cool.
3. Heat 1 tsp oil in a small pan, add the asafetida powder, dried red chillies, sesame seeds and about 10 curry leaves.
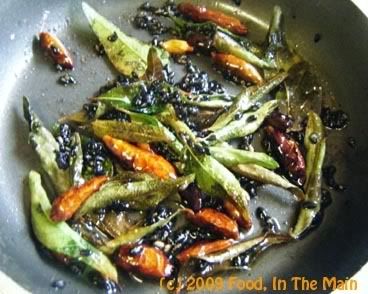
Stir till the chillies turn a darker colour, about 30 seconds.
4. Grind the roasted vegetables to a smooth paste along with the red chillies, sesame seeds, curry leaves.

Add the 2 tbsp roasted peanuts and then grind again -
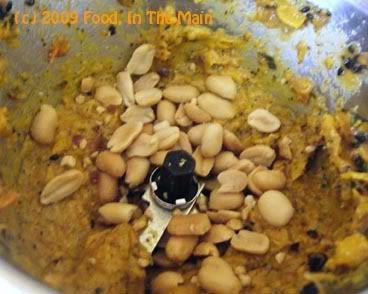
you can leave the peanuts a little chunky if you like.
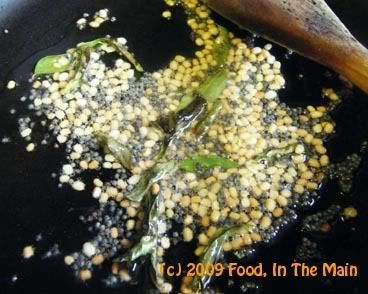
5. Heat the remaining 2 tsp oil in a pan. Add the remaining curry leaves, mustard seeds and urad dal

and stir-fry till the dal turns a pale golden.
6. Turn the heat down to medium and add the ground bell pepper mixture along with 1/4 cup water and salt to taste.
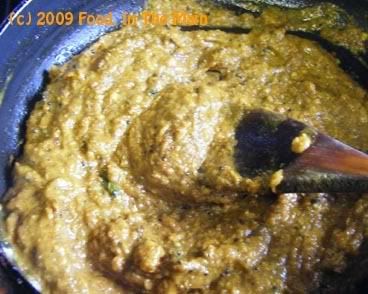
Cook this for 2-3 minutes, stirring well, until the chutney comes to a slow, gloopy bubbling boil. Turn off the heat and let it cool before transferring to a clean glass jar.

Serve with dosa, roti, idlis, etc, or use as a spread on toast, or as a sandwich filling, or even mix with cooked rice.
Store in the refrigerator.

There was a small surprise in my garden when I got back from a holiday in Croatia – slightly over half a dozen little strawberries on a plant that I didn’t even know I had (I thought they had all died over the winter), which had survived in a small clump of nettles. Picking those strawberries was an exercise in caution, because nettles are nasty plants, raising painful welts if they touch my skin. And no, dock leaves don’t do much good – remember that Enid Blyton statement where, according to her, dock leaves and nettles grow nearby each other because the former help soothe the stings of the latter? Well, I’m here to say that one half of that is true – dock leaves CAN be found near nettles but they aren’t much help with the stings. Not for me, anyway.
I was surprised that the birds and insects hadn’t got to the strawberries, because they certainly looked ripe and red (the berries, that is - not the avian and insect life). But when I tasted one of the berries, it was quite sour. Not much fun eating those unless drowned in sugar – and not worth doing that for half a dozen strawberries.
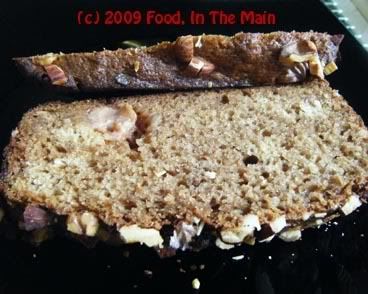
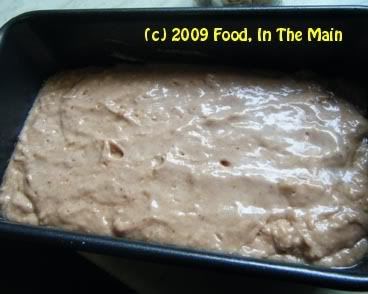
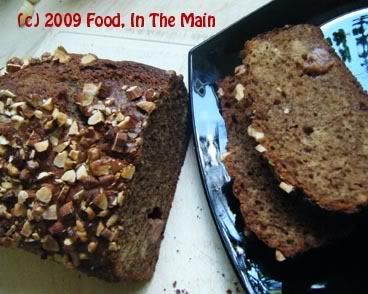
So I decided to make a strawberry cake with them – adding a few more strawberries which were going cheap at the supermarket and which, therefore, I had bought. For no real reason I decided to make it a loaf cake – I like slices of cake rather than chunks, I suppose.
The texture and taste of the cake were perfectly fine, but since I had used pureed strawberries in the batter, I was expecting a flavour more redolent of strawberries than was the case. The flavour came through better on the second day, however. I also was hoping for a more pink cake, but I guess the whole wheat flour made the batter more brown than pink. I would have happily improved on Mother Nature by using some red food flavouring in the batter to “pinken up” the cake… it was just a pity I didn’t have any!
Recipe for: Strawberry-vanilla loaf cake
Ingredients:
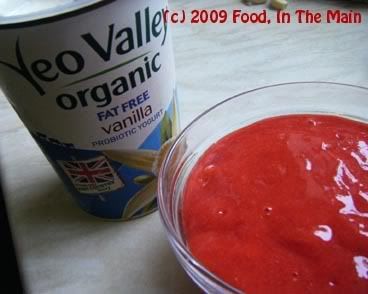
1 cup pureed strawberries (depending on size, between 10 and 20)
3 tbsp butter, softened
1/4 cup non-fat vanilla yogurt
3/4 cup sugar
2 eggs
1 tsp vanilla
1/4 tsp salt
1/2 cup wholewheat flour
1-1/2 cups all-purpose flour
2 tbsp chopped walnuts, almonds or pecans (or a mixture)
Method:
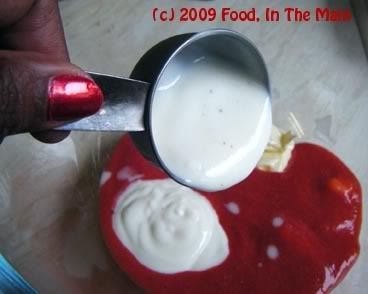
1. Combine butter, yogurt and strawberry puree in a large bowl. Mix well.
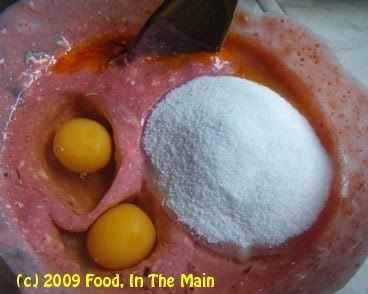
2. Add eggs, vanilla, sugar, salt, baking powder and baking soda and stir well.
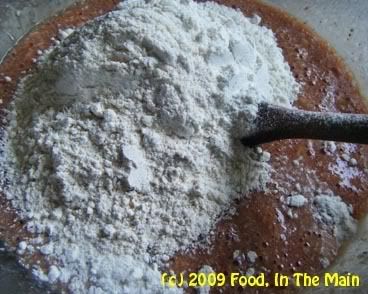
3. Add the flours and stir/fold in lightly until combined.
4. Spray a 1-1/2 pound loaf pan with Pam or grease lightly with oil. Pour the batter in the prepared pan, level it with the back of a wet spoon,
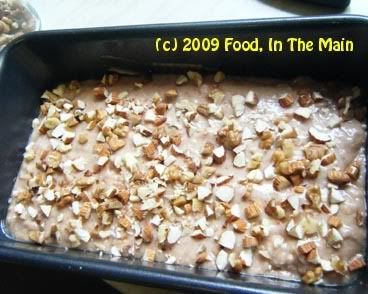
then sprinkle the chopped nuts on top.
6. Bake in an oven at 180C for 40-50 minutes or till done (I start checking at the 30-minute mark).
7. Let the loaf cool in the pan for 5 minutes,
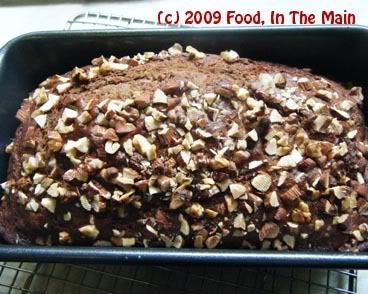
then turn carefully out onto a cooling rack and let cool completely.
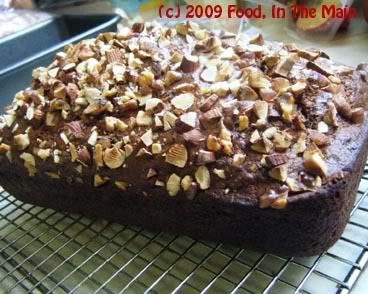
8. Serve sliced as is,
or warm it slightly in the microwave and serve with strawberry compote and whipped cream.