skip to main |
skip to sidebar
Soya protein nuggets aren’t exactly a thing of beauty, are they? They’re certainly not what I’d describe as “a joy forever”, either.
Once or twice I’ve tried soya protein – Nutrela, as I knew them in the 1990s – but I have to say that they’re very difficult to work with. The first time I experimented with Nutrela was to try out a recipe from some women’s magazine – it could have been Women’s Era, that weekly insult in printed form to women of all ages. The magazine’s articles were all uniformly irritating, a disservice to women’s emancipation every last one of them. The magazine also had recipes, and after trying their recipe for Nutrela, I realised that their cookery section was on par with their “advice” to women – pretty rubbishy, in other words.
I’m not certain now what exactly the recipe was for, but I think it was something Indo-Chinese(ish), without the addition of too much oil. A Manchurian-style starter, I think. I remember toothpicks being involved in the final consumption, so it can’t have been meant to be a gravy dish.
Whatever it was, I soaked the Nutrela in 2-3 changes of hot water and washed the spongy rounds and squeezed the excess water and did everything the recipe said to get rid of the weird taste of the soya chunks. But despite the addition of ginger and garlic and much frying - and, little by little, the addition of much more oil than specified – the soya chunks still tasted like soya chunks. I don’t know where all the seasoning and the masala went, or the oil for that matter, as the soya stayed spongy and never even came close to crisp. The soya tasted like soya, and that was that.
Not very encouraging in the way of cooking with Nutrela, I can tell you.
I know they’re meant to be a good source of protein, but I couldn’t help being reminded of a story written by William Hope Hodgson – “The Voice in The Night”, which I had read when I was 11 or 12 years old… it was a horror story, but not one with explicit descriptions of murder and torture. Rather, it was the subtlety with which the author conveyed the feeling of horror that took over my imagination and memory.
This isn’t a pointless digression, honest. The thing is, the look and feel of the nuggets once they were soaked and softened reminded me irresistibly (and not in a nice way) of the awful sponge/fungus mentioned in the story. That, of course, made me even less inclined to cook with Nutrela … and I didn’t, for many years, in fact.
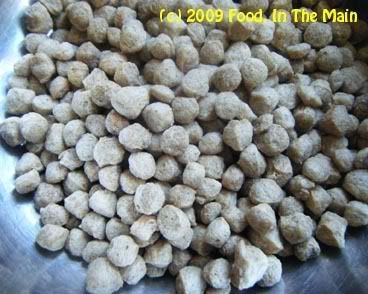
Last weekend I was at a Sri Lankan grocery shop in Wembley (Ganapathy Cash & Carry, for those who care) and among other things, I bought a small bag of soya nuggets. These weren’t the large boulder-type nuggets, they were more the size of peas – a lot less intimidating at that size and, I imagined, more likely to be edible. They didn’t remind me (much) of the grey nodding things, at any rate.
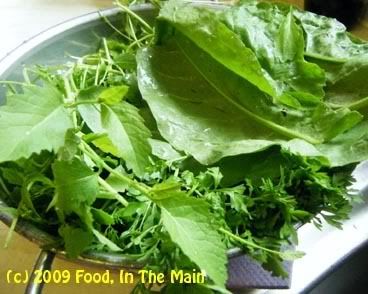
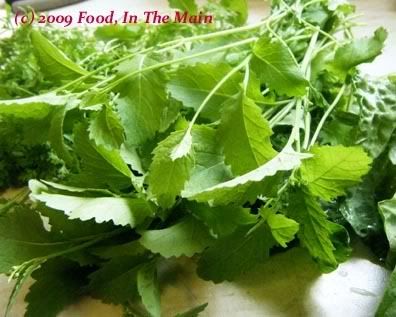
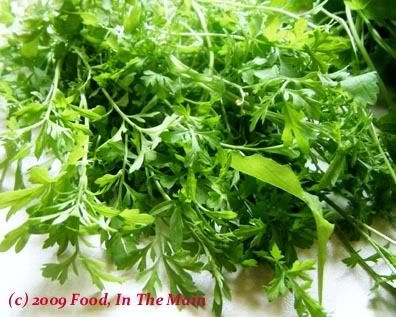
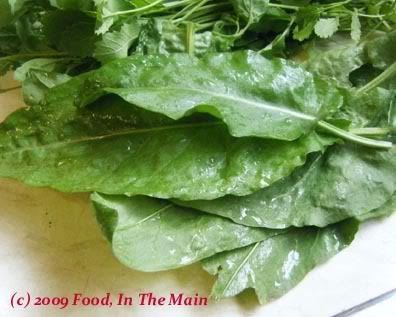
After all that, if you still like Nutrela and are still willing to read on for the recipe, I am not only surprised but also pretty pleased! I used three different kinds of greens to make the masala, but if you use only spinach, or a mixture of mustard greens and spinach, I don’t think it will affect the curry much. I don’t know if cress is meant to be cooked at all, but hey, there’s always a first time for everything. I don’t think it made a great deal of difference to the taste, in any case.
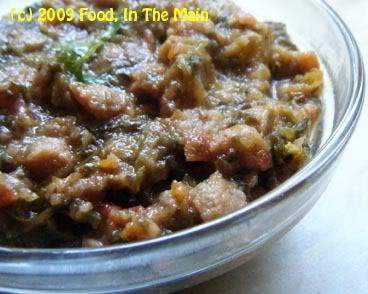
So, did I like this curry? To be honest, I personally would only give it a possible 6 out of 10 – but that’s because of the soya. The greens base was as good as it gets, and I’m certain the curry as a whole would go down very well with anyone who likes soya nuggets. But for those, like me, who can only muster a lukewarm liking for these spongeballs, it can only be a last-resort sort of dish.
Give it its due, though, when it was hot, the curry actually tasted quite good. But when I had some later in the day, the soya nuggets had done their usual trick of sucking up all the water content from the curry while leaving behind all vestiges of taste. Which meant that while they were “juicy”, not dried out, they also tasted only of soya, not the flavours of the masala. If somebody could explain why this happens – and more importantly, tell me how to prevent/redress this – they would have my eternal gratitude.
That said, I will still give the soya some more trials, perhaps in cutlets or some such preparation... at some point in the future.
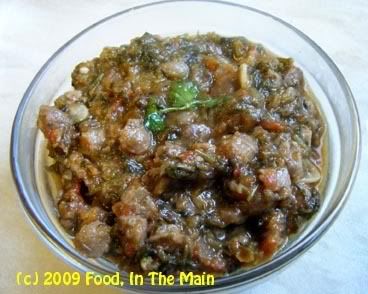
Recipe for: Soya nuggets greens curry
Ingredients:
1 cup small soya nuggets (or large ones chopped up)
2 small onions
3 medium tomatoes
1" piece ginger root
2 cloves garlic
1 tsp butter
1 tsp oil
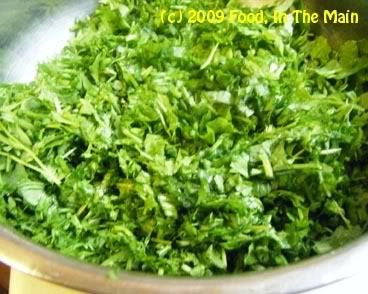
2 cups assorted greens, sliced (I used mustard, cress and spinach beet)
1 tbsp kasoori methi
1/2 tsp cumin seeds
1/4 tsp turmeric powder
1 tsp red chilli powder (or to taste)
3-4 green chillies, sliced thin
1/2 garam masala
1 cup milk
Salt to taste
Method:
1. Pressure cook the soya chunks with 1/4 cup water for 2 whistles.
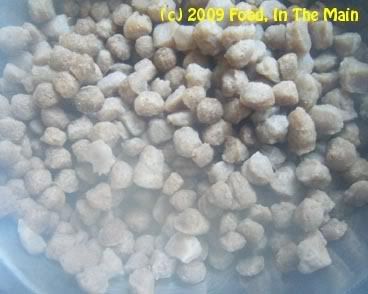
Wash the soya in a bowl of cold water, changing the water a couple of times. Then squeeze as much water out of the soya as possible and set aside.
2. Slice the onions thickly, put in a saucepan with a cupful of water, then bring to a boil.
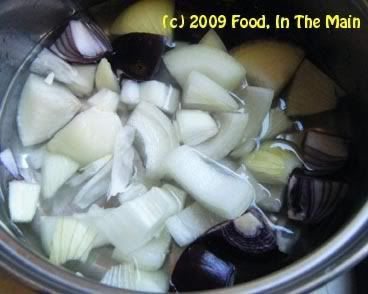
Simmer the onions for 5 minutes or till it turns translucent.
Drain any water that is left (you can use it to cook the greens in the next step).
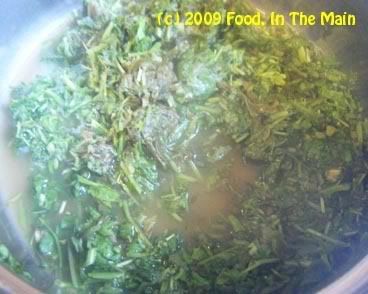
3. Cook the sliced greens with 2-3 tbsp water, covered, till wilted. Mash the cooked greens roughly.
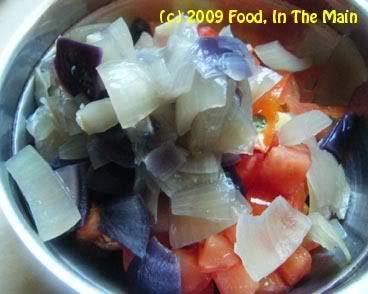
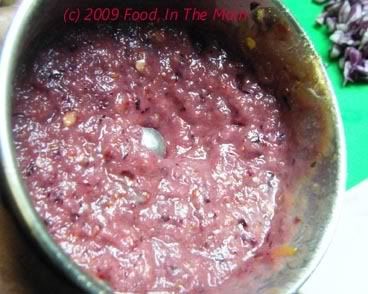
4. Grind the tomatoes, boiled onions, cumin seeds and ginger into a smooth paste.
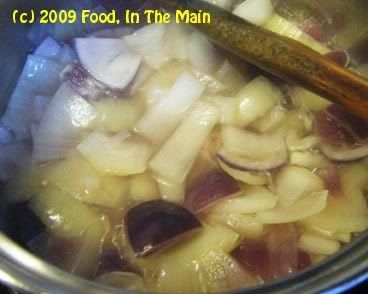
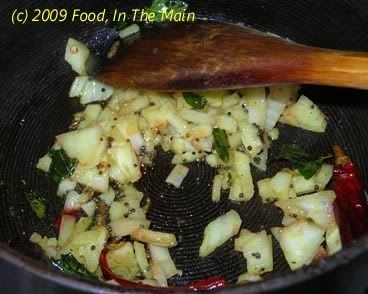
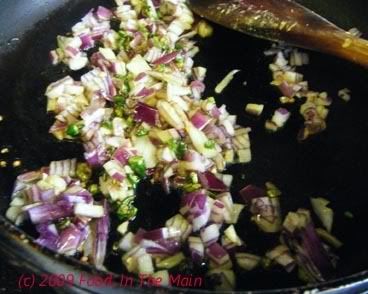
5. Heat the butter and oil in a pan and fry the sliced green chillies and garlic till the garlic begins to turn colour slightly.
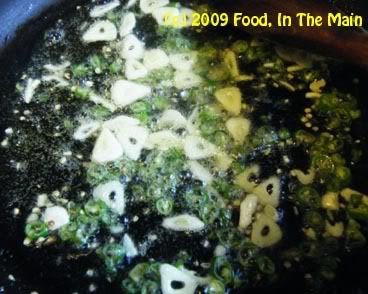
Do not let it get any darker. Stir in the garam masala, red chilli powder and turmeric powder.
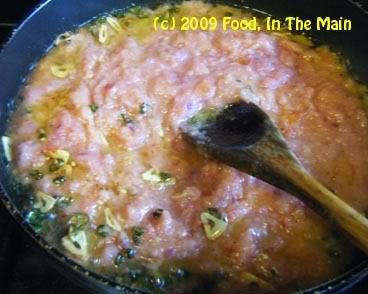
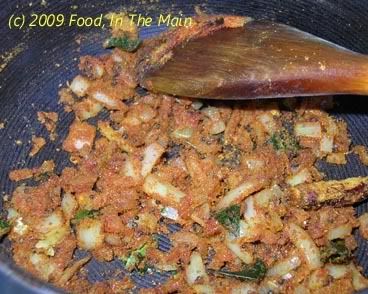
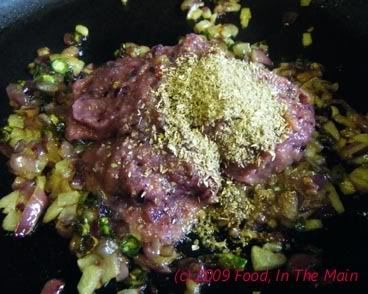
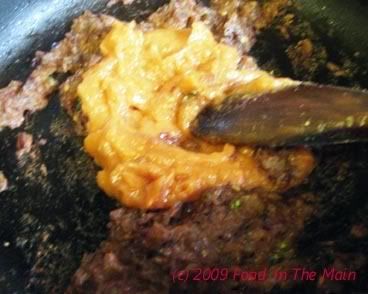
6. Add the ground tomato paste and fry it for 4-5 minutes.
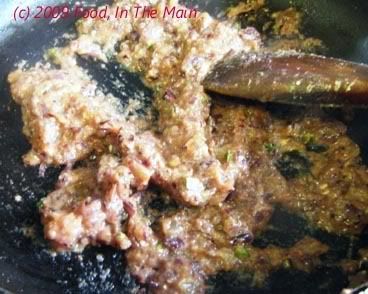
7. Now add the mashed greens
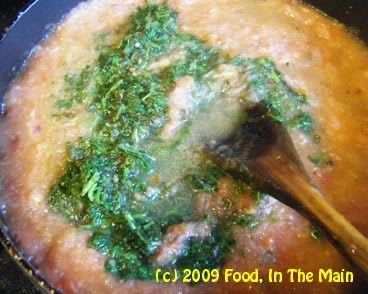
and mix it in well.

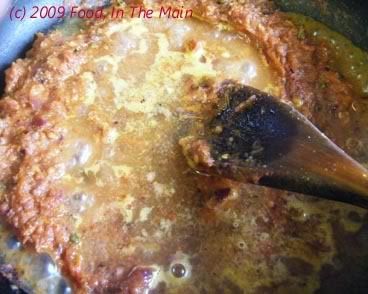
Pour in the milk along with 1 cup water,
stir, and let the mixture come to a bubbling boil.
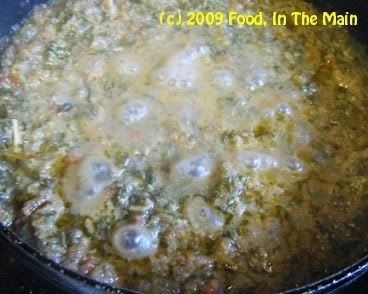
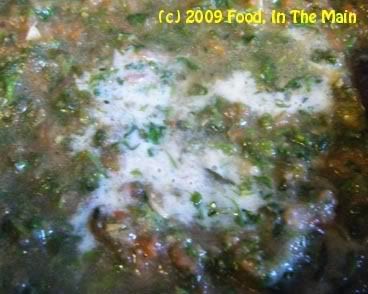
8. Add the soya nuggets now along with the kasoori methi and salt to taste, and stir it in.

Let the curry simmer for 5-7 minutes, till the gravy is thick. Serve hot with chapaties.
This is getting to be a repetitive sort of beginning to my posts, but I’ll say it anyway – beetroot was not among my favourite vegetables, growing up. I don’t remember if my dad was fond of this vegetable, but I’m pretty certain that my sister and brother would not have countenanced it, same as me. We were – regrettably - very alike in food preferences as children, in the process probably depriving my mother of produce that she liked but couldn’t eat at home – because let’s face it, when you have to cook, day in and day out for an entire family, it’s easier to go with the majority flow than deal with the said family’s collective groans and moans when faced with unpopular vegetables.
In her place I would probably have cooked my favourite items and let everyone else fuss unnoticed in the background – or even in the foreground. But my mother was (and is) much more in touch with her selfless side and she mostly avoided the things that the rest of us wouldn’t eat. Coordinating everybody’s likes and dislikes every single day, at least twice a day, must have been a painful, thankless job, one I would have hated doing. Even now, when I actually like being in the kitchen.
Anyway... where was I? Oh yes, beetroot. It’s only in the last few years that I’ve ventured out of my comfort food zone and tried things that I had disliked for the most part of my life. Pickled beets, beetroot dry curry, beetroot halwa even... I can and do eat all those now. I even cook beetroot at home, braving bright red-stained hands and red-stained cutting mats and sometimes utensils – and the occasional permanently-red-stained article of clothing (and, also, the shock during ablutions the next morning. There have been a few times that I’ve nearly called for an ambulance, only just remembering the previous day’s beetroot ingestion in time to save myself the embarrassment of public stupidity.)
So, a friendly reminder to the occasional beet eaters – remember, you are not bleeding to death from the inside, it’s just the beets doing their thing. (I shall abstain from further elaboration on this point to protect the delicate sensibilities of any readers... but if you eat beets, you will know what I mean!)
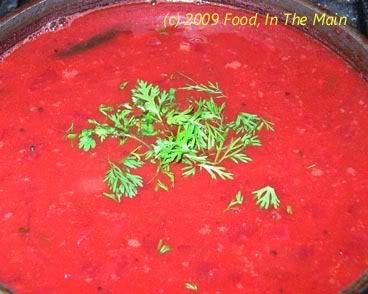
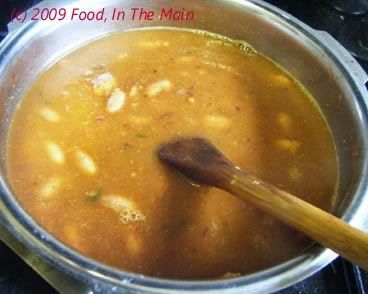
Back to what I made with beets this time – sambar! It was surprisingly tasty... vaguely sweet from the beetroot, tangy from the tamarind and spicy because of the red chilli powder with which I boosted the heat quotient, because I was afraid the sambar would otherwise end up actually sweet (ugh).
The jewel-like magenta hue of the sambar was an added bonus for my colour-lovin’ soul.
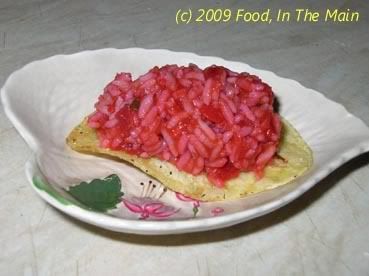
I ate the sambar over rice (well, what else) paired with spicy bittergourd curry, which added yet another dimension to the taste explosion. All’s to love here, that’s what I say.
Recipe for: Beetroot sambar

Ingredients:
3/4 cup tuvar/tur dal
2 medium beetroots, peeled
1 medium onion, minced
2 generous tbsp sambar powder
1 tsp red chilli powder
1 tsp mustard seeds
1 tsp tamarind paste
2 tsp oil
1 tsp grated ginger root
1/4 tsp asafoetida powder
1/4 tsp turmeric powder
1 tbsp rice flour
3 cups water
6-7 fresh curry leaves (optional)
Salt to taste
Coriander leaves for garnish
Method:
1. Pressure-cook the beetroots and the tuvar dal (in separate containers!). Mash the cooked tuvar dal and reserve. Cut the beetroots into 1/2-cm cubes and reserve.
2. Dissolve the tamarind paste and the rice flour in 3 cups water and set aside.
3. Heat the oil in a pan and add the mustard seeds, curry leaves, asafoetida powder and turmeric powder. Cover and let the seeds pop.
4. Add the chopped onion to the pan and and fry it till it begins to turn soft,
then add the sambar powder and red chilli powder and saute on medium heat for 2 minutes, stirring often. Do not let it burn.
5. Now add the cooked cubed beetroot and stir it well into the masala
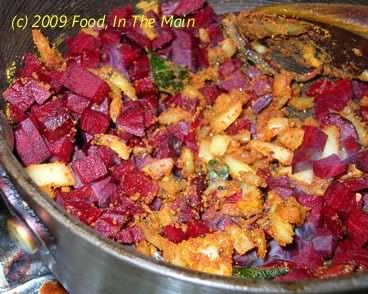
then add the tamarind water.
6. Let this come to a boil, then simmer it for 10 minutes or so to let the tamarind blend with the masala.
7. Add 1/4 cup hot water to the cooked tuvar dal and whisk it in to remove any lumps, then add it to the liquid in the pan. Add salt to taste, then stir it all till well blended again.
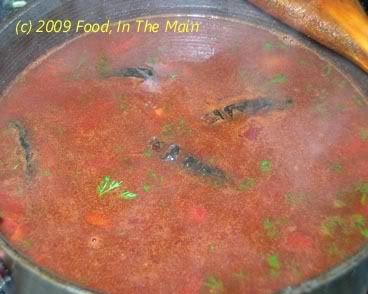
8. Let the sambar simmer for 5 minutes, then turn off the heat and let it sit for covered for 15-30 minutes. Just before serving, heat the sambar thoroughly and sprinkle coriander leaves.
Serve hot with steamed rice and any dry curry, with poppadoms or crisps on the side (optional).
I bought a bag of rosecoco beans sight unseen simply because of their lovely name, a few months back. It never occurred to me to look up the beans anywhere to find out what they were, and it certainly didn’t cross my mind (or even came anywhere within a few light years of my mind, never mind within crossing distance) that I might not like the beans – because a bean or legume that I dislike has not yet been invented.
Yes, there are certain ways of cooking/using beans and legumes that I might dislike (the gooey texture of cooked urad dal by itself, for instance), or certain additions to the cooked beans that I would not eat (anything non-vegetarian, in other words)… but the beans themselves are never at fault. Thus I repeat, I have no fear of meeting a bean and not liking it.
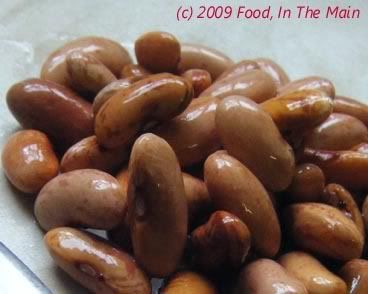
And so it was with the rosecoco beans (= cranberry bean = borlotti bean = saluggia = shell bean = salugia bean = crab eye bean = rosecoco bean = Roman bean = fagiolo romano). Not only did they look pretty, speckled and brown and prettily pinkish (or did I imagine that because of the rose in their name?), but they cooked up beautifully, too.
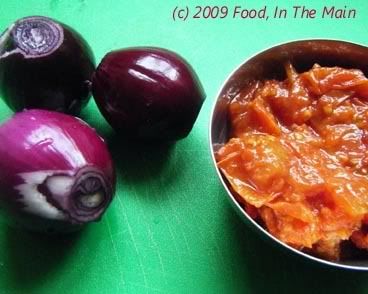
I have made rajma before, with the dark red kidney beans that are traditionally used for this recipe. This recipe is slightly different, if for nothing else other than I used my beloved slow-roasted tomatoes to make the gravy. I have said this before and I say it again – using oven-roasted tomatoes intensifies beautifully the flavour of any gravy. It’s well worth keeping roasted tomatoes handy. They usually last in my fridge for a week - and maybe could stay good for longer, I don’t know - covered with cling wrap.
I’m sure, as I’ve said before (again!), that you could puree the tomatoes and freeze it in ice-cube trays for convenient future use... but I haven’t done so thus far, because – er, I don’t have ice cube trays. If you’re wondering what we do for drinks, well – I buy ice. Maybe I'm just lazy, but I find the pre-frozen ice cubes convenient, and man, they last for absolutely AGES in a drink. I don’t know what it is about that ice, but the cubes – actually they’re not cubes, they’re beehive shaped, for some strange reason - just don’t melt as quickly. (Please, don’t tell me it’s because the ice has preservatives.)
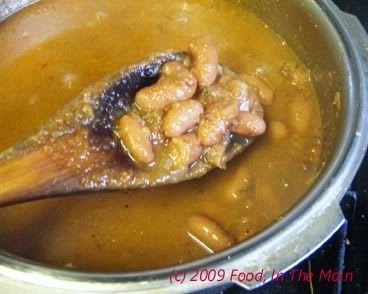
Anyway, digression apart, here’s the recipe for rosecoco bean rajma, and my mother will vouch for the fact that it was lip-smackingly gorgeous. I love my rajma, I do.

Dry rosecoco beans (left) and soaked overnight (right)
Recipe for: Rosecoco bean rajma
Ingredients:
1 cup rosecoco beans, soaked in water overnight
3 small red onions - two chopped, one minced finely
1/2 cup roasted tomatoes, pureed
1" piece ginger root, sliced
1 tsp cumin seeds
3 dried red chillies
2-3 fresh green chillies, sliced into thin rounds
1 tsp coriander powder
1/2 tsp chole masala/garam masala
1/4 tsp turmeric powder
1 tbsp oil
Salt to taste
2-3 cups water
2-3 tbsp coriander leaves, chopped, for garnish
Method:
1. Grind the two chopped onions along with the ginger root, dried red chillies and cumin seeds
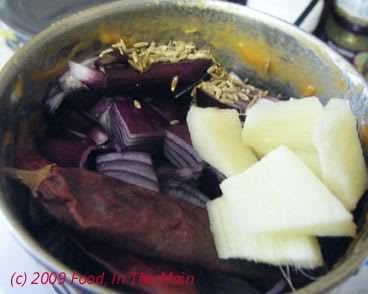
into a fine paste.
Reserve the minced onion.
2. Heat the oil in a small pressure cooker, add the sliced green chillies and turmeric powder.

Fry the chillies for 30-45 seconds on high, stirring it meanwhile.
3. Add the minced onion now and stir it in; cook this for 2-3 minutes or till the onions begin to turn soft.
4. Now add the red onion paste along with coriander powder
and fry the mixture for 4-5 minutes.
5. Now stir in the roasted tomato paste
and add 1/4 cup water.
6. After two minutes, add the soaked beans.
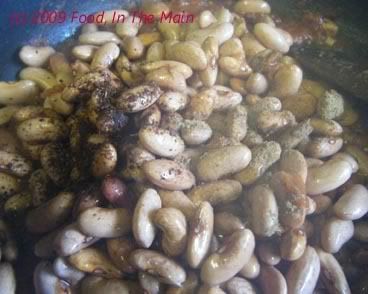
Fry the beans, stirring them into the masala, for 3 minutes or so, stir in the garam masala/chole masala,
then pour in 2-3 cups water.
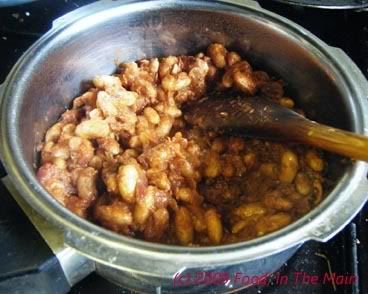
7. Let the water come to a rolling boil, then close the pressure cooker. Put the weight on the cooker once it's steaming well, then cook it for 2-3 whistles on high heat. Now turn the heat down to low and let the beans pressure-cook for at least 20 minutes. Finally allow the cooker to come up to pressure again and switch it off after a couple of whistles.
Once the cooker can be opened, add salt to taste to the rajma and stir it in well. The beans should be cooked such that they can be easily squashed between two fingers. If the gravy is watery, let the rajma boil on high heat till the excess water evaporates and the gravy is to the desired consistency.
Serve hot, garnished with coriander leaves, along with cumin fried rice.
Naan naan paNninaen.*
There. A two-language pun. I know, it’s dreadful... but honestly, it was better out than in – specifically because of its awfulness. Imagine the harm it could have done to my system had it not been externalised! If the pun is hurting all y’all who know Tamil, I can only say that it’s just as painful for me.
Because – brace yourself for some very hi-funda philosophy - a bad pun is like using a two-edged razor. It may hurt the wielder as much as it hurts the wieldee(s), but it cannot be left unwielded.
Anyway... the good thing about the naans (that I made naan-ey† *sorry*) is that they were as yummy as the puns are gruesome. They disappeared as quickly as I could turn them out – and the coolest thing was that I didn’t need a tandoori oven to make them. In fact, I didn’t even use the regular oven. What I used was my cast-iron skillet. It’s a small one (but mighty expensive for all that, when I bought it!) so the naans were small. Mini “me”s, I guess (because naan = me, bwahahahahahahahahha, and this time I’m not sorry!).
This was the first time I’d made naans, so I wasn’t quite sure about how thick (or how thin) to roll them. I settled on about 1/2-cm thick, but they became somewhat thicker than that when they puffed up on cooking. Everybody (Pete, his two kids and amma) liked them as they were – soft in the centre but crispish and brown around the edges – but I think I would have liked them better thinner. But that’s just me.
I plan to roll the dough thinner the next time I make naans, because I like them to be on the thinner and crisper side... but I’ll also find out if thin naans will still be soft without being doughy.
I used two toppings – sesame seeds and kalonji seeds. Both were great.
Oh yeah, the cast-iron skillet method of making naans on the hob. Nearly forgot about detailing my gratifyingly successful experience with that!
Basically, it HAS to be a cast-iron skillet or tava. Non-stick items are useless for this, even the hard anodized triple-coated last-you-a-lifetime expensive kind. At least, I wouldn’t attempt it with mine because I’m certain that the naans and the naan-stick – er, NON-stick (NOT sorry, so there) – coating would be ruined.
Anyway, what you do is brush one surface of the rolled-out naan generously with water (I used my soft pastry brush so as not to brush the topping right off), slap it wet-side down onto a well heated skillet, cook it with the skillet on the heat for 30-40 seconds, then turn the skillet upside down and hold it over the flame, letting the dry side cook over the direct heat. (Note: a hot-plate or non-gas hob would be spectacularly useless for this method of making naan.)
The naan is (usually) done when it falls off the skillet – (usually) right onto the flame, so keep a pair of tongs handy to grab the naan before it burns too much!
You get the hang of it easily, though – how long to keep the skillet on the flame, and when to turn it upside down so as to cook the naan evenly. And even if you don’t get the hang of it, no harm done (as long as your hob is clean!). Really. I’m not talking naan-sense.
That’s it, I’m done with the puns, and this post.
* Naan = "I" (or me), in Tamil - therefore the pun. Naan naan paNninaen translates to "I made naan" in Tamil
† Naan-ey = "I (did it) myself"
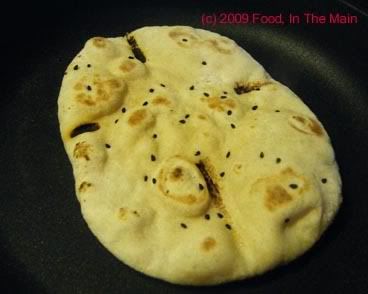
The first naan I ever made - see the four scorch marks from the hob? They happened while I was scrabbling around for a pair of tongs with which to grab the darn thing off the flame!
Recipe for: Naan
Ingredients:

2-1/2 cups whole wheat flour
1/2 cup plain flour
1 tsp salt
1 sachet instant yeast
1/4 cup warm milk
1/2 cup yogurt
Warm water as required Toppings: 2-3 tbsp sesame seeds, nigella seeds (or as you like - green chillies, garlic, chopped coriander, etc)
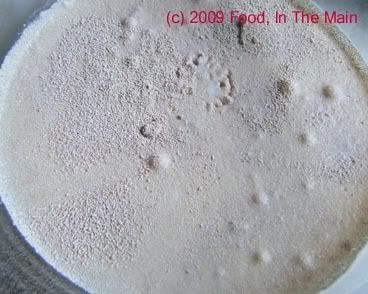
1. Dissolve the yeast in the warm milk and let rest covered for 15 minutes till it turns bubbly.

2. Whisk together the whole wheat and plain flours and salt in a deep bowl, and make a well in the centre. Add the yogurt and as much warm water as required (add little by little) to make a soft dough. Place the dough in an oiled bowl and let rise covered in a warm place for 2-3 hours.
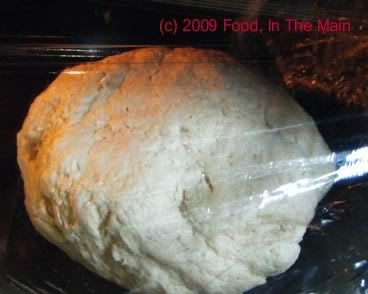
Punch the dough down after it has risen, and knead briefly. 3. Pinch off a lime-sized piece of dough and roll it into an oval about 1/2-cm thick. Sprinkle with your topping of choice, and press down gently with the belan (roller) so that the topping is embedded in the naan. This is to stop the seeds or herbs or whatever falling off.
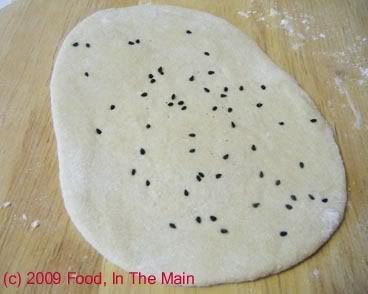
with kalonji (nigella seeds)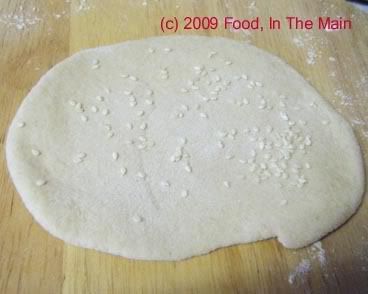
with sesame seeds4. Brush the surface of the naan (the side with the topping) with water and slap it down quickly on the well-heated cast-iron pan. Leave it on the hob for 30-40 seconds, or till the naan puffs up in places. 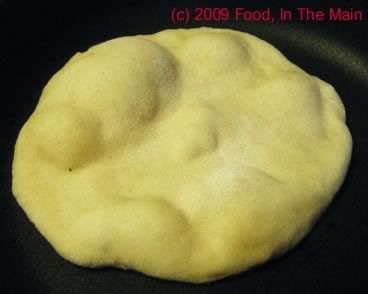
5. Now turn the skillet upside down over the flame 
so that the dry surface of the naan cooks as well, acquiring brown spots. 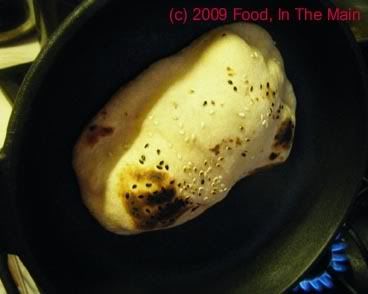
6. The naan is done when it falls off the skillet. Place in a clean tea cloth and keep warm while you make the rest of the naans. Brush with melted butter or ghee before serving with any gravy curry, if you like.