skip to main |
skip to sidebar
I’ve been wanting to make tomato soup from scratch for the longest time – actually for the last 20 years or so, ever since a very dear friend, A, described in detail the tomato soup that he made at home. This guy, a dedicated cook and an even more dedicated foodie who had traveled extensively on his stomach (not literally), was also blessed with the gift of the gab.
His description of the cooking process, and the taste of the finished product, had me riveted, and when I finally turned my attention back to the tomato soup that I had ordered (we were having lunch at the Mathura Restaurant in Madras), it had morphed into tomato ketchup diluted with water. Strange, that, because until that point I had loved their tomato soup and ordered it pretty much every time I went there. (Another friend of mine religiously had the French onion soup every single time – now there’s a completely true and completely useless fact for your collection, folks.)
Anyhow, since it was A’s fault that the Mathura tomato soup (with four croutons, no less) had been ruined for me forever, he promised to treat me to his home-made specialty – an occasion that never did materialise for one reason or another, as is wont to happen.
But he is more than aware that he owes me (because I keep reminding him), and at some point when I make a trip to Vancouver, he knows he will have to make good.
The point is, ever since that occasion, home-made tomato soup has always seemed the aspirational apex of home comfort food to me, even though we were not big on soup in my family, really – it was mostly an eating-out thing with us, not made at home. Still, that impression about tomato soup stayed with me over the years, although I never got around to making it myself even after I got interested in cooking... partly because it was so tied-in with A and his promise (something like if I was going to have home-made tomato soup, it was going to be HIS soup or nothing at all).
Luckily, stupidity of even that intensity has an expiry date, and after I’d read a few recipes for tomato soup – not just plain ol’ tomato soup, but roasted tomato soup - I finally twigged to the fact that I might be able to make it myself. Once that realization sank in, it took hardly any time to get around from thought to action. (Well, compare it with the pace of evolution and you’ll see how quick I was. Evolution took Nature millions of years. It only took me four.)
Recipe for: Garlicky roasted tomato soup

5 ripe medium-size plum tomatoes, quartered
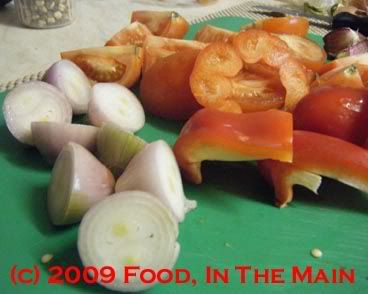
1 medium red bell pepper, seeded and quartered
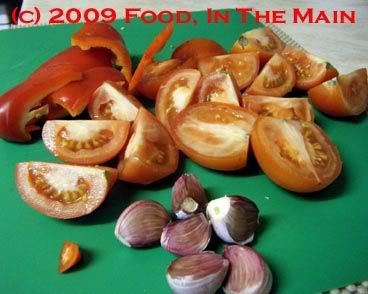
1/4 red scotch bonnet chilli, de-seeded (or use any milder chilli to taste)
5-6 large garlic cloves (unpeeled)
4 medium shallots, halved
3-4 cups vegetable stock
Coarse sea salt (optional) 1/4 tsp regular paprika powder
Large pinch of smoked paprika powder
1/4 cup full-fat milk/cream
3-4 generous tbsp olive oil
Plenty of fresh coarsely-ground black peppercorns to taste
Method:
1. Pre-heat the oven to 200C. Line a shallow baking tray with foil and grease it with olive oil.
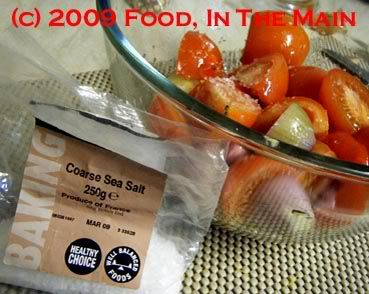
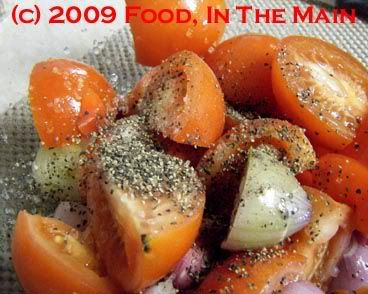
2. Mix together the tomatoes, shallots, peppers, chilli and garlic in a bowl along with the 4-5 tbsp olive oil,

about 1 tsp of the sea salt
and about 1 tbsp coarse-ground black pepper.
3. Pour the coated vegetables onto the greased tray
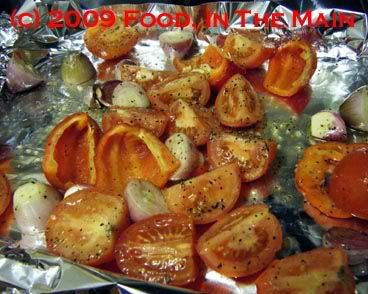
and bake in the oven for about 30 minutes, stirring them after 15 minutes

so as to let them brown evenly.
4. When the vegetable juices begin to caramelise and turn brown, and the tomatoes and onions are soft, turn off the oven.
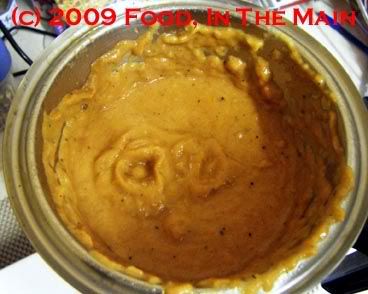
5. Remove the garlic cloves and squeeze out the pulp into a blender along with the rest of the roasted veg.
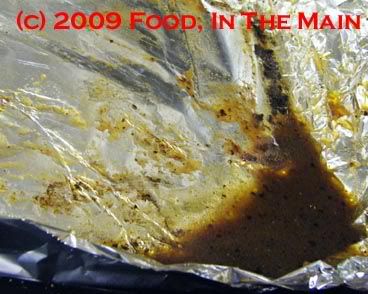
6. If there is a lot of caramelized bits sticking to the foil, pour 2-3 tbsp boiling water on the bits and gently scrape with a plastic spatula. Pour the resulting liquidy bits into the blender as well.
7. When sufficiently cool, add about a cupful of stock to the veg, then puree them to your preferred consistency - you can make it really smooth, or leave some chunky bits in. (I made mine fairly smooth.) Add more stock to the blender while pureeing, if required.
8. Mix the soup with the remaining stock in a saucepan and bring to a gentle simmer. Stir in the whole milk or cream if using,
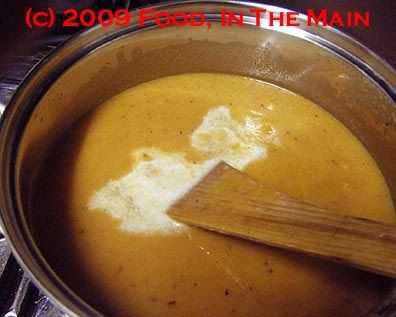
the paprika, and simmer for 3-4 minutes. Check for seasoning, adding more freshly ground black pepper if required.
9. Serve hot in bowls with fresh crusty bread, toast or grilled sandwiches, topped with a little chopped parsley or basil for garnish.

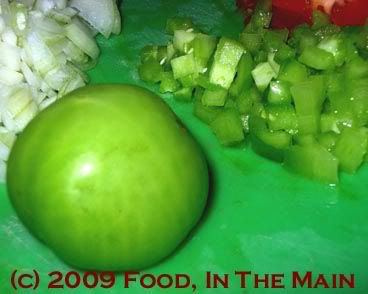
This recipe has been hanging fire since late last autumn, when I had actual green tomatoes which refused to ripen. That was my fault, since I’d acquired the plant well into summer and the tomatoes simply didn’t have the time or receive the warmth to ripen and redden.
This year, though, hopefully I will be more on the ball when it comes to growing these love-apples… because honestly, they taste soooooooooo much better when eaten straight off a plant! (That is, you pick the tomato from the plant, wipe it just in case, check for holes which might indicate the presence of any prior eaters/occupants, and then pop it into your mouth. That’s the usual procedure and the only possible explanation for “eaten straight off the plant”... unless you’re a slug or a bug or a bird or any other tomato-predator.)
Organic, schmorganic… the best tomatoes are those that grow in your pot or veggie patch or garden, and that is the bottomline.
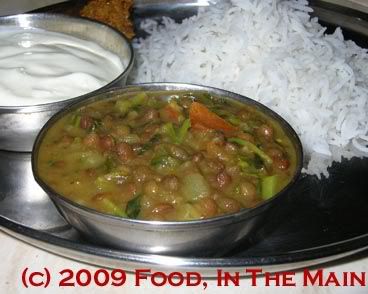
Since these tomatoes were green, I didn’t try eating them raw. Since I wasn’t in the mood for fried green tomatoes (yep, as per the Whistlestop Café) at that point either, they went into a tangy, spicy dal. I will be making it again this year… and perhaps include a trial of fried green tomatoes too.
Watch this space... but here’s a friendly heads-up because I value my readers - watch it only sporadically, just so you don’t get bored waiting! Cheers.
Recipe for: Green tomato dal
Ingredients:
1 cup whole masoor dal, soaked for 1 hour and cooked separately with 1/2 tsp turmeric
3 medium green tomatoes, chopped
1 medium ripe tomato, chopped
1 medium onion, chopped fine
1 cup shredded greens (spinach/fenugreek)
1 tsp ginger-garlic paste
3/4 tsp coriander powder
1 tsp cumin seeds
4 green chillies, minced (or to taste)
1/2 tsp tamarind paste (more or less, depending on how sour the green tomatoes are)
Salt to taste
2 tsp ghee - reserve 1/2 tsp for garnish
2 tbsp chopped coriander leaves for garnish
1/2 tsp garam masala for garnish
Method:
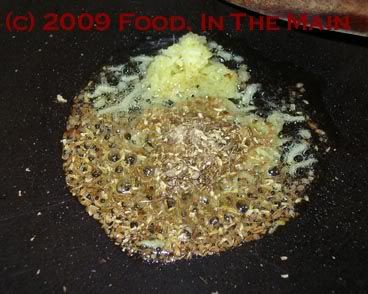
1. Heat 1-1/2 tsp ghee in a pan, then add the coriander powder, cumin seeds, minced green chillies and ginger-garlic paste. Stir fry for 30 seconds.
2. Add the chopped onions and fry over medium-high heat till they become soft and start turning brown.
3. Add the shredded greens now and mix well, frying till they start wilting.
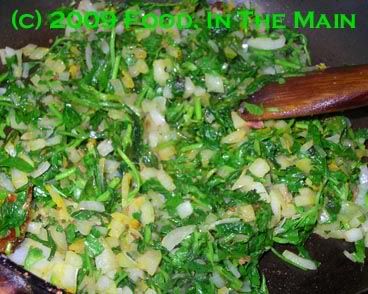
4. Throw in the chopped green tomatoes, mix well.
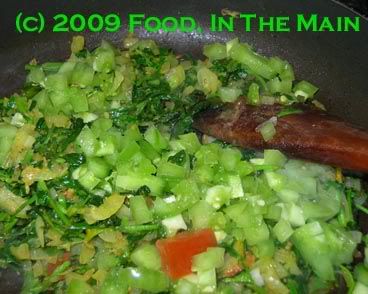
Fry for 3-4 minutes till the tomatoes begin to soften.
5. Add the red tomatoes now, mix well, and pour in 1/4 cup water.

6. Cover the pan and let cook for 5 minutes on medium-high heat.
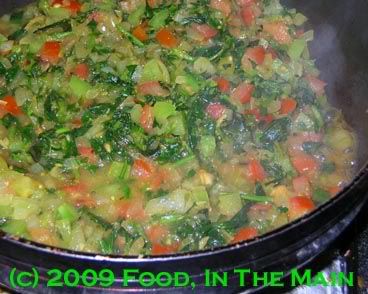
7. When the tomatoes have broken down and turned mushy, add the cooked whole masoor dal along with salt to taste.
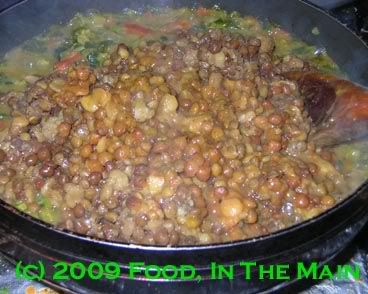
8. Stir the dal in gently, without mushing it up, then taste for sourness. If required, dissolve 1/2 tsp tamarind paste in 1/4 cup water and add it to the pan.
9. Let the dal simmer for 5-7 minutes till the ingredients come together.
10. Heat the remaining 1/2 tsp ghee in a small pan and add 1/4 tsp cumin seeds (optional) and the garam masala. Fry for 10 seconds, then pour over the top of the hot dal.
11. Sprinkle coriander leaves on the dal and serve hot with rice or rotis and onion raita.
Oranges are my favourite fruit and orange my favourite colour, which makes it a happy coincidence that my favourite fruit and favourite colour come together in one juicy little package. However, not all oranges are equal in my eyes – the perfect oranges are those which are a tart-sweet explosion in the mouth when you bite into a segment, seedless, soft and loose in their skin (but not TOO loose and soft, because that means they’re past their best) and easy to peel. Oranges that are hard to peel, or just hard from old age, those that are blah in taste (neither sweet nor sour), those that are too squashy – they can totally mar what should be a blissful experience.
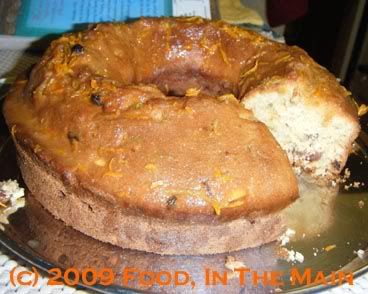
You’d have heard of the aphorism: “When life gives you lemons, make lemonade”. I have another - When life gives you less than perfect oranges… why, make orange cake!
So, following my own advice, I did.
And it was good (both the advice and the cake).
(By rights, I should have ended this post at the previous sentence, which would have been the perfect exit line… unfortunately, the sentence arrived unexpectedly soon, leaving me with no choice but to continue despite the apt ending. All I really wanted to add was that the original recipe from About.com: Southernfood was for a sour cream orange cake with walnuts, but I substituted low-fat Greek yogurt for the sour cream and almonds for the walnuts (because a certain walnut-loving amma, who is back in India now, seems to have finished my stock off) – oh, and I added sultanas because I think oranges and sultanas are a star combination. Also, I halved the original recipe, as I didn't want to make a massive cake.)
Recipe for: Orange-almond cake
Ingredients:
1/4 cup salted butter, softened
1 tablespoon orange rind, grated
1/2 cup sugar
1 egg
1-1/3 cups flour
1/2 teaspoon baking powder
1/2 teaspoon baking soda
½ cup greek yogurt
6 tbsp fresh orange juice (I used 4 tbsp juice + 2 tbsp Cointreau
1/4 cup chopped toasted almonds
¼ cup sultanas or raisins
Topping:

1 tbsp orange blossom honey (or use any honey)
1/4 cup fresh orange juice
1 tablespoon finely grated orange rind
1 tbsp lemon juice
Method:
1. Preheat oven to 180°C/350°F.
2. Mix butter and 1 tablespoon orange rind together in a bowl.

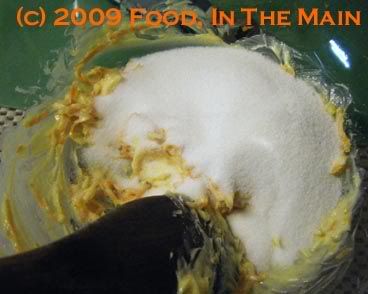
3. Add sugar and cream the mixture till light and fluffy.
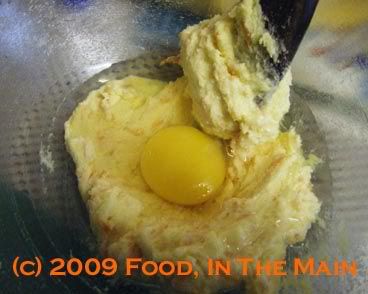
4. Then add the egg and beat well.
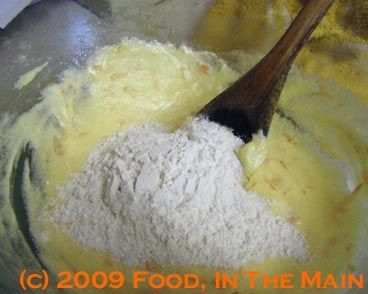
5. Mix flour, baking soda and baking powder in a bowl. Add dry ingredients to creamed mixture,
6. alternating with orange juice/Cointreau
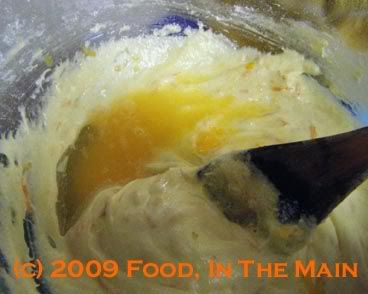
7. and yogurt, beating until smooth after each addition.

8. Add chopped toasted almonds
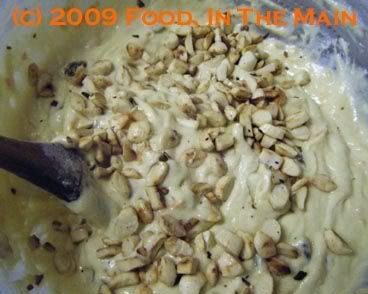
9. and sultanas,

then pour into a greased cake pan (6” round pan) - I used a savarin pan.
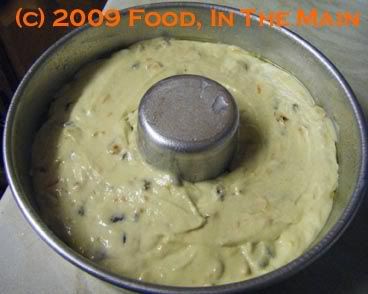
10. Bake 40 minutes or till done
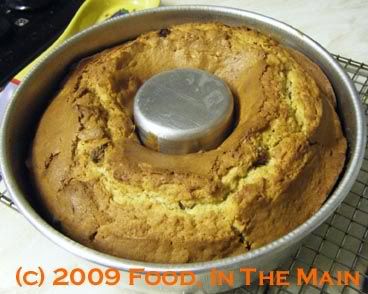
(check with cake tester – if it comes out dry, the cake is done).
11. Cool 10 minutes; remove from pan. Make evenly spaced holes in the cake with a skewer.
12. Heat topping mixture,
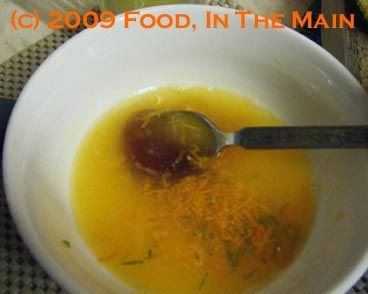
then use pastry brush to spread the warm honey mixture on top of the warm cake.
This recipe is actually for the pav buns/dinner rolls that I made a few days back. And yes, before you ask, I am not yet tired of mentioning the fact that I baked them myself! (Twice!) The photos were taken the second time I made the same recipe, but I decided to shape the buns like sandwich baps (English term for a flattish soft flour-topped sandwich roll) - which is why the finished-product photo doesn’t show pav bun-shaped bread. It's the same recipe as in the earlier post, though.
The post is basically a pictorial, so for a change I’ll let the photos do the talking. One photo equals a thousand words, to quote an oft-repeated phrase, so … er (hoping my maths skills are up to the task) ... I guess that means I’ve written some 18,000 words, not counting the words in this paragraph. A pretty good effort, all said, wouldn’t you agree?
In pictures, then:
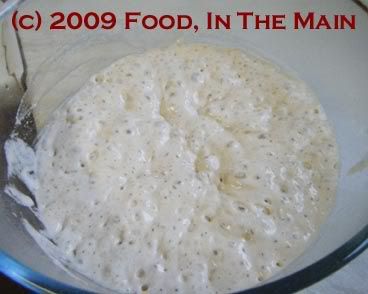
The bubbly result of one cup of flour, one cup of warm water and 2.5 tsp yeast, mixed well and left to ferment in the oven for about an hour with the pilot light turned on.
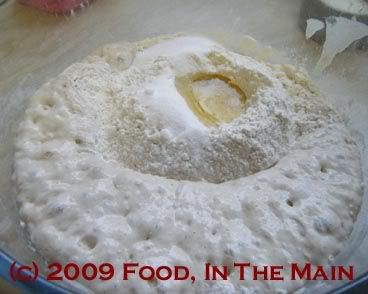
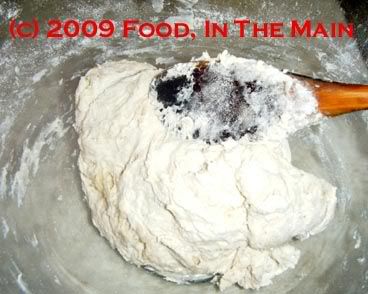
Adding the remaining 2 cups flour, 1 tbsp melted butter, salt and sugar.
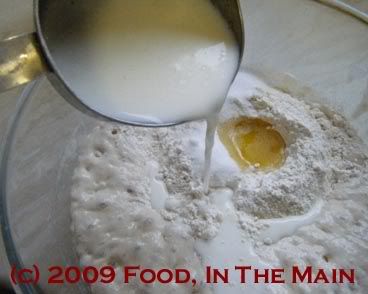
1/2 cup buttermilk going into the bowl now...
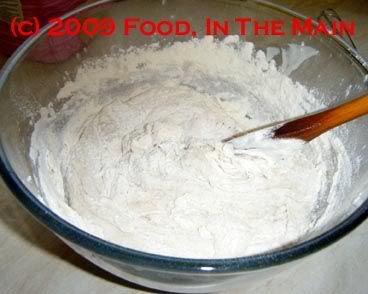
Stirring the whole thing with a wooden spoon to bring the ingredients into a rough dough.
Now that the dough has come together reasonably well, time for some kneading.
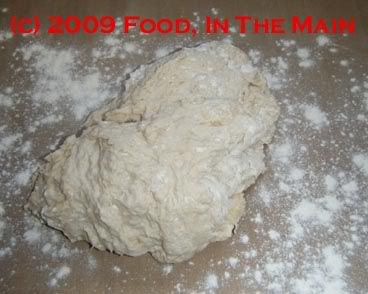
Remove the dough to a lightly floured surface.
This is hungry dough - it's taken up the extra flour from the kneading surface.
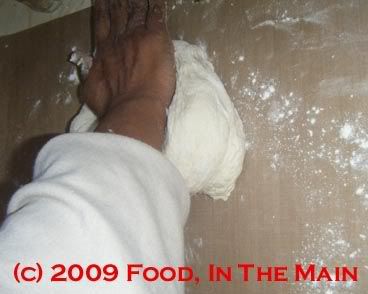
Don't be afraid to scatter more flour on the surface - like so - while kneading.
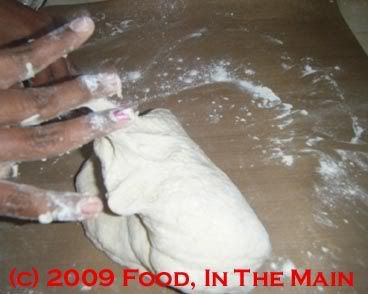
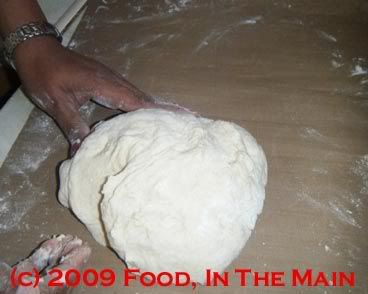
Fold the dough towards you while kneading
Then push it away from you with the heel of your hand. Turn the dough a quarter circle, then repeat the folding-pushing maneouvre for 6-8 minutes.
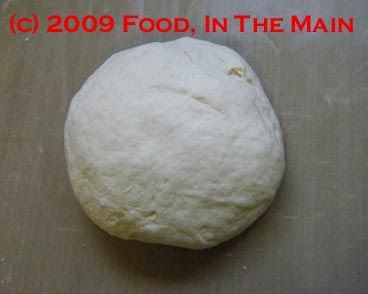
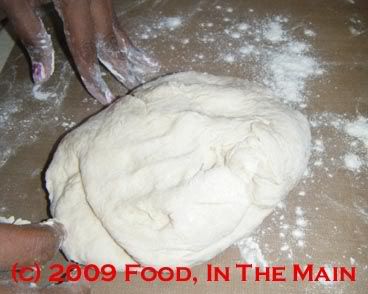
At last - the dough is now elastic and smooth, ready for the next step.
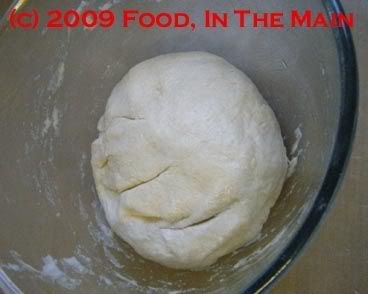
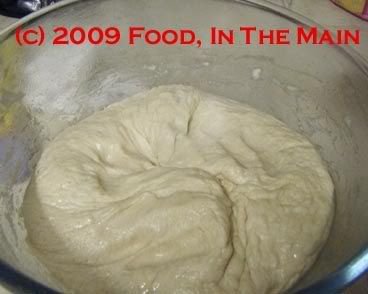
The dough now back in the greased bowl, covered with cling film, for 1-1/2 to 2 hours in the pilot-light-lit oven.
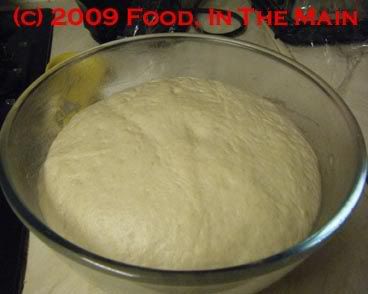
After about 1 hour 45 minutes - the dough has risen nicely to double the original volume.
Punch it down gently.

Put the dough back on the kneading surface to be pinched off and rolled into bun shapes, ready for the second rising. (Nothing to do with religion!)
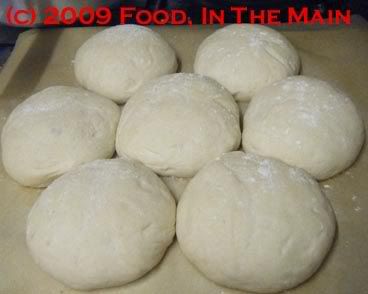
After 45 minutes in the oven, the bun-shaped dough balls have risen again and filled the gaps to stick together. Sprinkle extra flour on them before baking.

Golden-brown sandwich baps, fresh from the oven. These took about 30 minutes to bake at 180C.
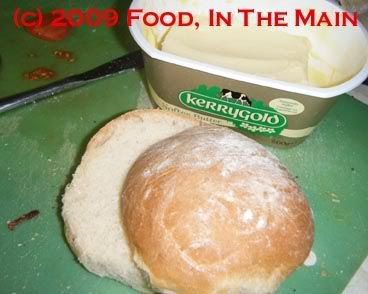
Sliced and ready to become a sandwich - use a filling of your choice, and enjoy the soft, yeastily aromatic bread baked by your own hands!