skip to main |
skip to sidebar
What do you do 3 or 4 days prior to going on holiday for 10 days, when you have vegetables and fruit in the refrigerator? You use 'em or you lose 'em. Since I hate to lose 'em, I've been using 'em as much as possible. But yesterday evening when a couple of friends dropped by, there wasnt much to offer by way of gracious hostessing. I had three eggs, one 400gm pack of thawed puff pastry, nearly past its use-by date, two tomatoes and two large, slightly soft onions. What to do, what to do?

Egg puffs with curried onions, that's what. A bit of nostalgia crept in at that point, making me remember the many, many times that my friends and I, while working in The Indian Express newspaper in Madras, had walked down to Spencer Plaza and its popular snack corner.
I dont know about the others, but for me the air-conditioned, cool interior of Spencer Plaza was as much a draw as the food available there. Stepping into the coolness was indescribably blissful after the blazing heat outside - and then the aroma of the various food items would hit you, making your mouth water. I would always head for the Punjabi samosas and my friend would make just as straight a beeline for the egg puffs. I dont know why, but that simplest of fillings was what she found most appealing.
It appealed to my friends too.
Recipe for: Curried onion egg puffs
Ingredients:
400gm puff pastry
3 large hard-cooked eggs - cooled, shelled and cut in half length-wise
2 large onions, sliced thin
1/2 tsp garam masala/pav bhaji masala
1/2 tsp crushed cumin seeds
1/2 tsp coriander powder
2 tsp oil
1 tsp red chilli powder or 2-3 fresh green chillies, chopped fine (optional)
Salt to taste
Method:
1. Heat the oil in a pan, toss in the cumin seeds, coriander powder and green chillies (if using).
2. Stir-fry for 30 seconds or so, then add the onions and cook them on medium low until they start turning light brown and are semi-transparent.
3. Add the garam masala/pav bhaji masala and salt, stir well.
4. While the cooked onions are cooling, roll out the pastry on a lightly floured surface into a rectangle about 1/2-cm thick.
5. Cut the pastry into 6 strips about 3-1/2 inches wide by 5 inches long (approx).
6. Place a tablespoon of the onions on a strip and then a half of boiled egg, cut side down.
7. Moisten the edges of the strip with a little water and fold the strip so that it encloses the egg.
8. Press down on the edges to seal, and make a fluted pattern with a fork, if you like.
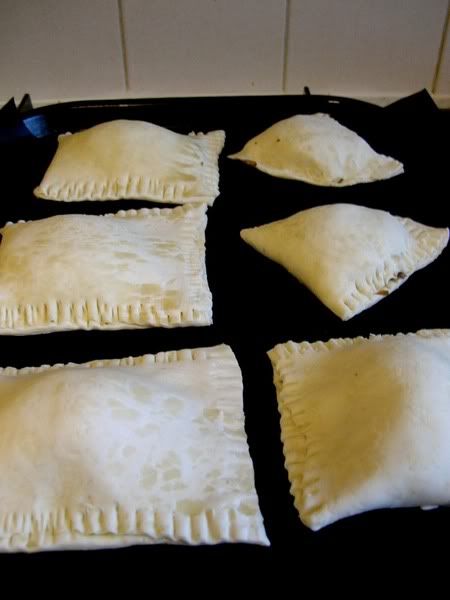
9. Continue until all the eggs are used up.
10. Preheat the oven to 200C, place the puffs on a baking sheet and cook till the pastry is golden brown on top.
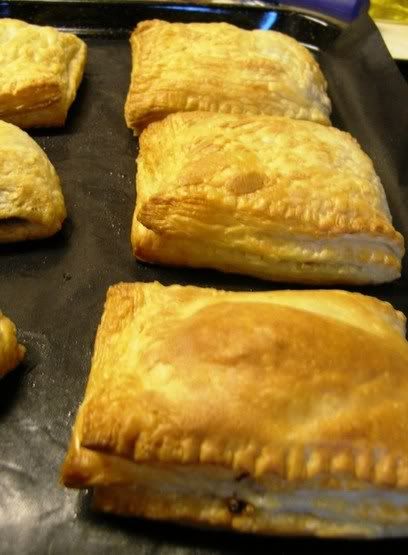
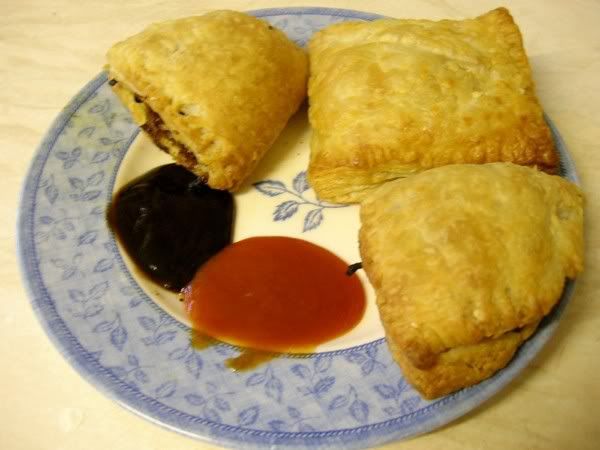
11. Let it rest for 5 minutes, then serve with tomato ketchup for a quick snack, or with a side salad for a light meal.
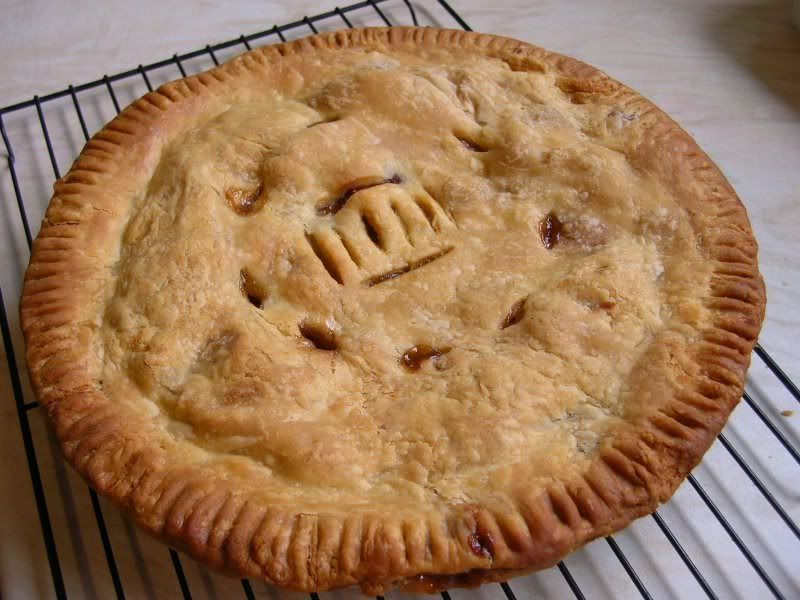
And a better pie than my first attempt, although still not anywhere near perfect to look at. I'm not going to make any more pies for awhile, though... they're simply too calorious (to coin a word) for words - all that butter and margarine and sugar - extravagantly sinful. I baked this pie just to ensure that the first one wouldnt remain a one-off effort :)
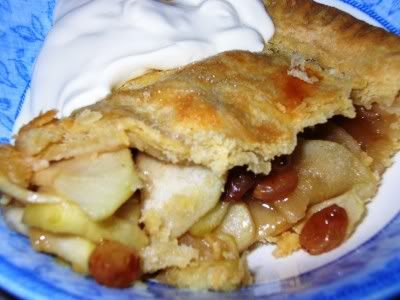
This was a deliberate pie. With raisins. Too, I remembered to brush the top of the pie with milk AND sprinkle it with white sugar before baking - something I'd neglected the first time around. The milk gave the pie a beautiful golden glaze, and the sparkly sugar crystals provided the finishing touch. I have to say it looked very pretty! I ate the odd bit of it but my sweet tooth is very easily satisfied and I was glad of the unsweet crust to temper the sweetness of the filling.
My husband and friends demolished the pie in two sittings. Well, I'm glad about that, that's a good thing, else I'd have been a very sad bunny. There's nothing more disheartening than to see something you've made (expending great effort, too) sitting there uneaten and unappreciated until you have to throw it away.
Recipe for: Double-crust apple pie
Ingredients:
For the pie dough (crust):
2 1/2 cups plain flour
1/2 teaspoon salt
1 tsp cinnamon powder
1/2 cup cold butter, cut into small pieces
6 tablespoons cold margarine (can use shortening instead)
5-7 tablespoons ice water
Method:
1. Stir together the flour, cinnamon powder and salt in a medium bowl.
2. Cut in the butter with two knives. Add the margarine and combine with a large fork until the mixture resembles coarse oatmeal.
3. Sprinkle the water, 1 tablespoon at a time, over the flour mixture and stir
with a fork until all the flour is moistened and the dough holds together
and doesn’t crumble.
4. Gather into a ball. Knead lightly (but not too much) until the dough is smooth. It's ok if the butter is still a bit lumpy. Lumpy is good!
5. Divide the dough into two, form into smooth balls, wrap each ball in clingfilm and refrigerate for at least 30 minutes.
For the apple filling:
4 large Granny Smith apples, cored, peeled and evenly sliced (or cubed, according to preference. I sliced mine.)
Juice of one lemon
1/2 cup white sugar
1/2 cup light brown sugar
1 tsp cinnamon powder
1/2 tsp grated nutmeg/cloves or allspice
1/2 cup golden raisins
1-1/2 tbsp cornflour
1-1/2 tbsp quick cooking tapioca, powdered
1. Toss the apple slices with the lemon juice.
2. Mix the rest of the ingredients together in a separate bowl and set aside.
Assembling the pie:
Method:
1. Roll out one ball of pie dough (leave the other in the fridge till required) on a lightly floured surface into a 10-inch circle, about 1/2 cm thick.
2. Lift up the circle of dough carefully and centre it in an 8" pie dish. Pat it gently in place at the bottom and up the sides.
3. Trim the edge even with the rim of the pie dish.
4. Roll out the other ball of dough into a circle that is about 1 inch larger than the rim of the pie dish. Set aside.
5. Put in a layer of sliced or cubed apples and sprinkle liberally with the sugar-raisin mixture. Add layers of fruit, sprinkling each layer with the sugar mixture. Mound the apples slightly in the centre and top off with the remaining sugar mixture.
5. Place the second circle of pastry over the fruit filling and trim the edge to about half an inch larger than the bottom crust. (I used scissors!)
6. Tuck the overhanging top edge under the bottom crust. Crimp the edges all around with the tines of a fork. Make a few slits at the top so that the steam can come out while the pie is baking.
7. Refrigerate the uncooked pie for 15-20 minutes. Then brush the top with some cold milk and sprinkle some white sugar all over.
8. Place in a pre-heated oven and cook at 180C (350F) for 45 minutes or so, until the top is golden and a skewer passes easily through the fruit when it's poked in the top.
9. Let the pie cool completely before slicing. It can be served warm (re-heat in a hot oven for 5 minutes or use the microwave) or cold with cream/vanilla icecream.
There's a downside to working full time - there's hardly ever the time to try new recipes during the week, and hardly ever the urge to try new recipes at the weekend. I mean, I'd much rather sleep in and then bum around watching sitcoms and/or taking catnaps (sometimes concurrently, hehe), or read, or do some desultory gardening. And there's always household-y things to catch up on as well. I guess that means I'm not the most dedicated cook. (BUT - I'm a dedicated foodie, always!)
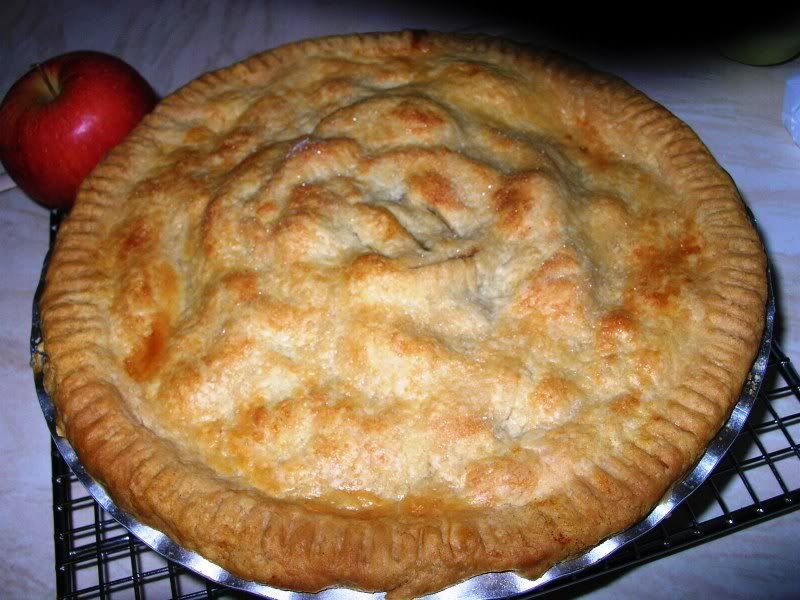
Anyhow, as it turned out, I reserved last Saturday to tackle my biggest culinary task - making a fruit pie from scratch. I had four medium peaches and a medium mango for the fruit part, and a recipe from the Good Home Cookbook for the pastry.
It was time-consuming, making the pastry, but not as difficult as I had feared. The problem with American recipes is that some of the ingredients are just not available as readily in the UK - for instance, shortening. I used margarine instead, and I dont know if it affected the pastry, and how, or even how much.
I'm glad to report that the pie was also was not the big disaster as I'd expected it to be, although it could have done with more finesse and adherence to the recipe on my part. In other words, I goofed up. But not big-time. For instance, since it was a double-crust pie, I was supposed to trim the dough even with the rim of the pan - but I folded it under, which is apparently done only for a single-crust pie. I also forgot the almond essence. And the quick-cooking tapioca with the filling, which was probably to help set the filling and stop it being runny. I should have glazed the top with milk (oops) and sprinkled brown sugar on top (oops once again), too. Oh well.
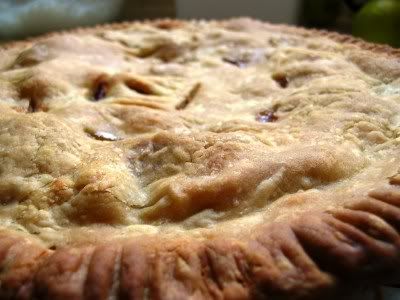
But the end result looked quite nice, and tasted very nice too, according to friends and family. Which is very encouraging, since I think I would like to give this pie-making exercise another go, with different fruit.
Not bad for a first attempt, right?
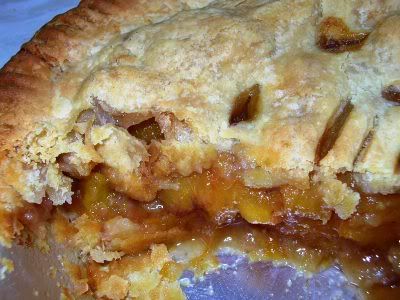
And that's how it looked when it was sliced...
When I sliced it, though, it didnt cut very well at all - possibly because I turned the bottom crust under the rim before baking, as I said earlier. The pastry was too flaky to cut neatly, and the juicy runny fruit filling didnt make it any easier. I know the first slice is usually termed 'chef's perk' (or something to that effect) because of the possibility of its not looking presentable, but I'm sure the entire pie shouldnt fall into that category!
One thing has always puzzled me and still does - how does one remove a baked and cooled pie from the dish whole, without ruining it? It would be so elegant to present a pie on a fancy plate and then cut it, rather than serve from the baking dish itself.
If anybody knows the technique of removing a pie (or flan or tart or whatever) from the dish without causing damage, PLEASE let me know! My next pie will be dedicated to that person :)