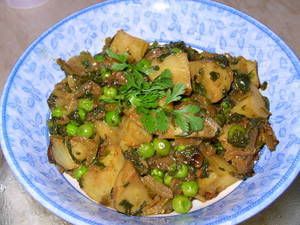
These vadas can be jazzed up with chopped onions or white cabbage, in which case they're called masala vadas, and you can get them at practically every roadside food stall in Chennai. I prefer them un-jazzed up, and that's how I made them today.
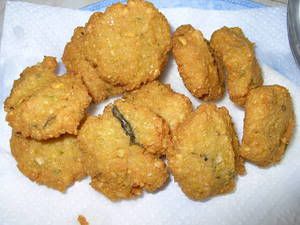
I havent made these very often, and this time I remembered a tip that my mother had imparted to me at some point in the past - which was to add a tablespoon of hot oil to the batter just before making the vadas. She said it would make the vadas crisp on the outside and soft on the inside... and by god, it worked.
Recipe for: Paruppu Vada
Ingredients:
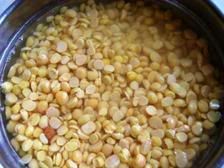
1 cup chana dal
1/2 cup tuvar dal
1/2 cup urad dal
1/4 tsp asafoetida powder (optional)
4-5 green chillies (or to taste)
Salt to taste
4-5 fresh curry leaves, torn into small pieces
Sunflower or vegetable oil for deep-frying
Method:
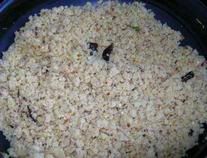
1. Soak the three dals together for a couple of hours, until they soften. Grind them with the green chillies to a thick but fairly coarse paste, using as little water as possible.
2. Transfer the paste/batter to a bowl and add the curry leaves, salt and asafoetida. Mix well.
3. Heat the oil in a deep wok or kadai. (You can also use a deep-fat fryer.) When it is hot enough that a drop of water sizzles at once, use a ladle to pour about a tablespoonful of the hot oil onto the batter. Mix well again.
4. Take a ping-pong ball sized amount of batter in your fingers and flatten it slightly with your thumb. Carefully put it into the hot oil. Repeat this until you have as many vadas as can fit comfortably in the wok/kadai.
5. Fry, turning the vadas over occasionally, until they are a golden brown all over. Drain on paper towels and serve hot with ketchup.